
User Logs
On this page
This guide covers how to track user activity, monitor changes, and maintain an audit trail within an organization. It details accessing logs, filtering by date or action, and reviewing key information like user details and timestamps.
The User Logs page provides a detailed history of all actions performed by users within a specific organization. It serves as a comprehensive audit trail, allowing admins to monitor user activity, verify actions, and ensure accountability across the platform.
Accessing User Logs
To access user logs, navigate to the Mission Control page in the side menu. Expand the User Management tab and click on the "User Logs" tab. This will take you to the User Logs page displaying all logged activities within the selected date range.
To access the User Logs page, you must have the Grant Access permission enabled under the User Logs section in Mission Control, otherwise the tab will not be visible to you. Refer to our Roles Guide for more details on permissions and their functionalities.
Understanding The User Logs Table
The User Logs table is organized into clearly defined sections to help you analyze the logs effectively. Each section answers a specific question about the action performed.
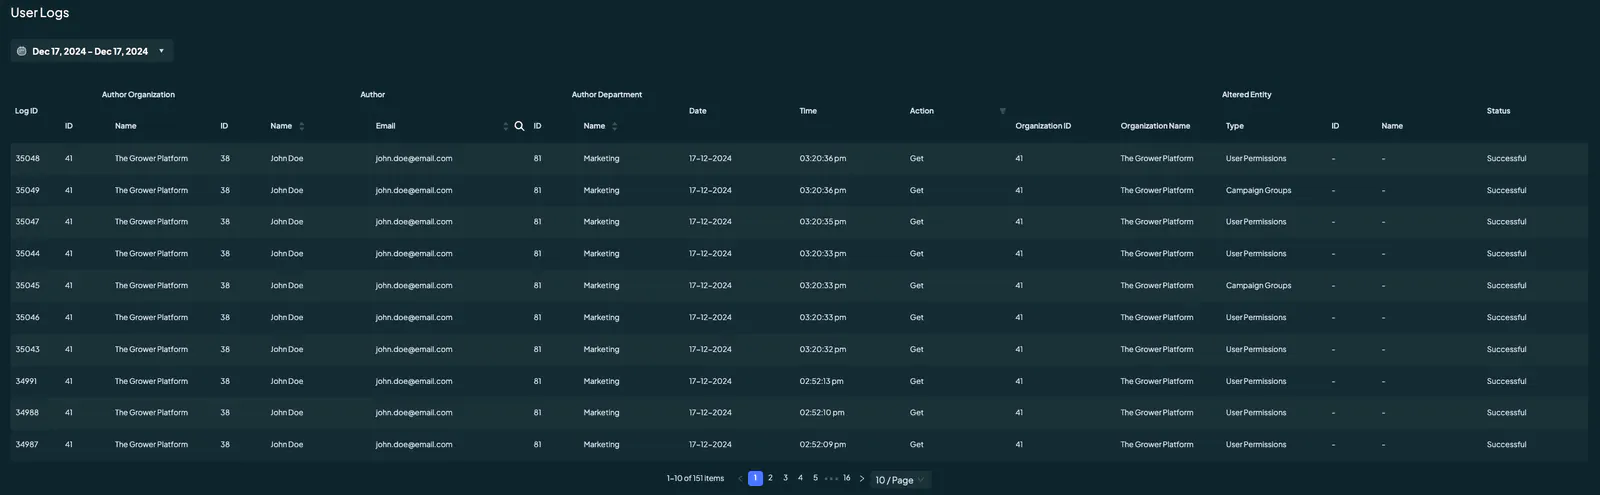
You'll notice that each log has it's own ID. The Log ID is a unique identifier for each recorded activity. It allows you to reference specific entries easily.
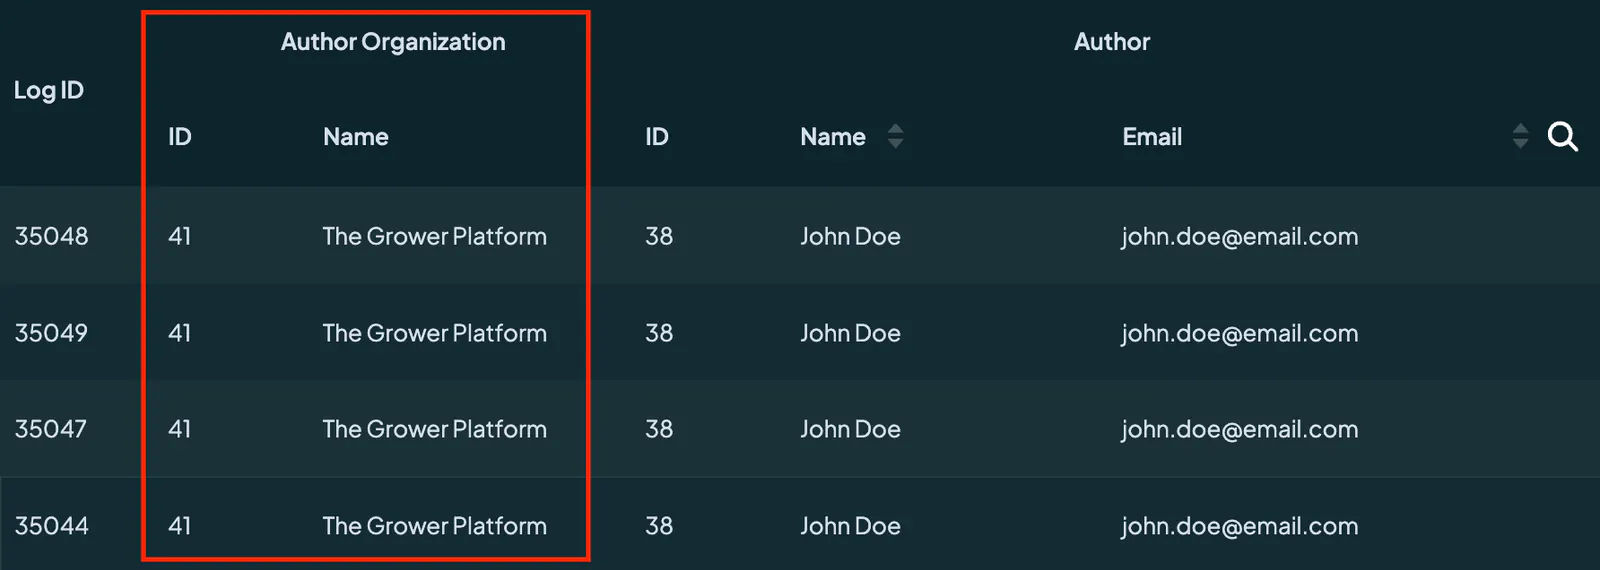
The Author Organization section identifies the organization to which the user performing the action belongs. It includes the Organization’s ID and Name, such as “The Grower Platform”.
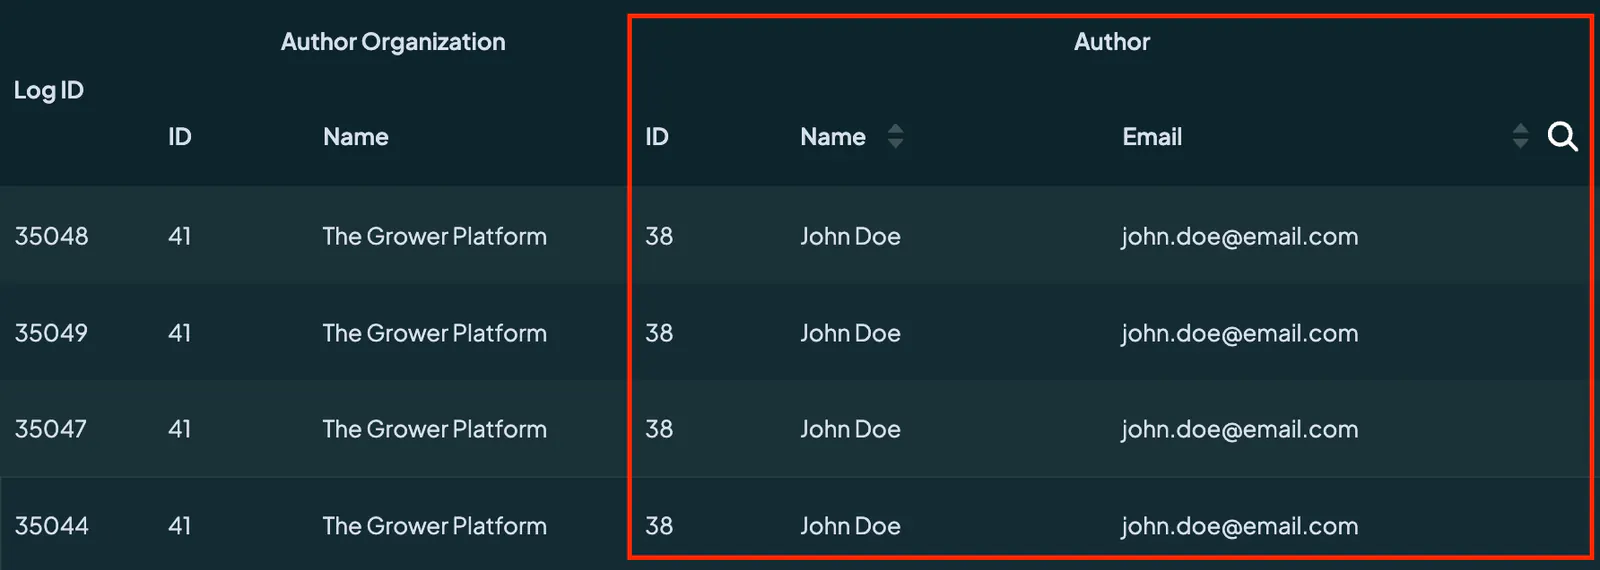
The Author section displays information about the user who performed the action, including the User’s ID, Full Name, and Email Address. This makes it easy to identify the individual responsible for the activity.
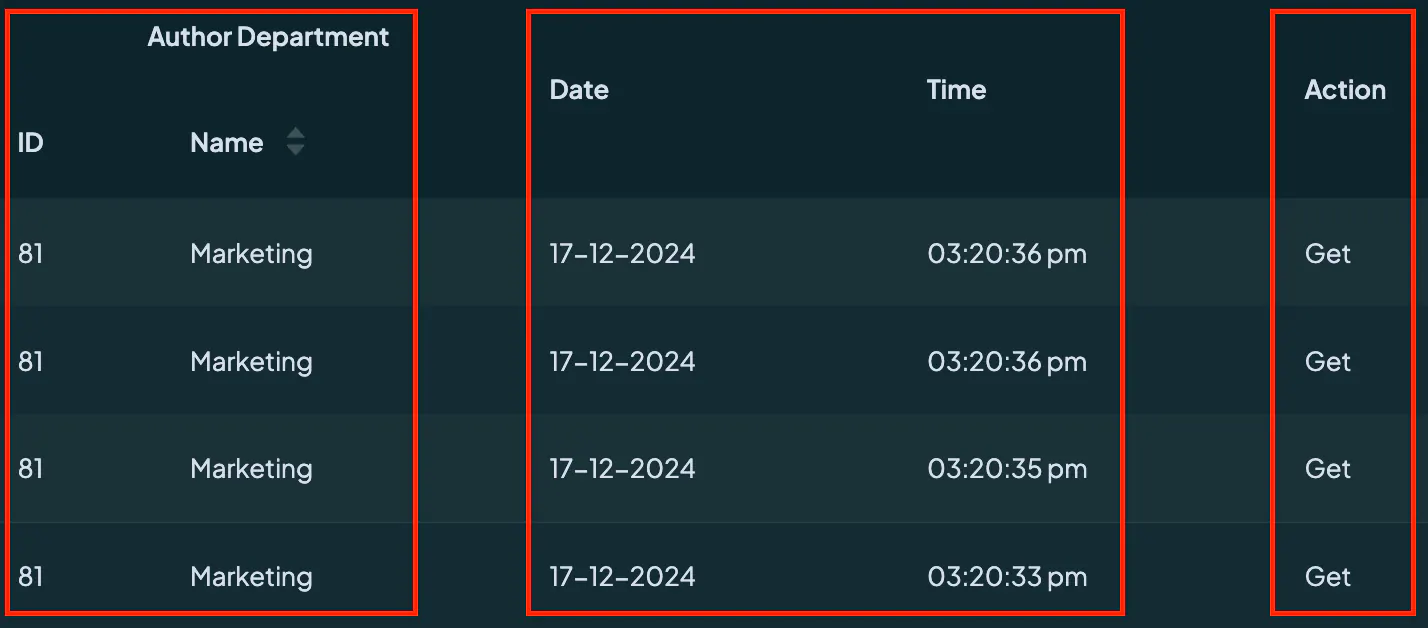
The Author Department section specifies the department where the user belongs. It includes the Department ID and Name, such as “Marketing”. This provides further context about the user’s role within the organization.
The Date and Time columns show exactly when the action occurred. The Date is displayed in dd-mm-yyyy format, while the Time is shown in hh:mm:ss AM/PM UTC. This allows you to pinpoint the exact moment an activity took place.
The Action section describes the activity performed by the user. Common actions include Get for viewing or retrieving data, Create for adding new records, Edit for modifying existing records, and Delete for removing entities.
The Altered Entity section identifies the resource or entity impacted by the action. It includes the Organization ID and Name where the resource resides, the Type of entity (for example: User Permissions or Campaign Groups), and the Resource’s ID and Name. This section helps you determine exactly what was affected by the user’s activity.
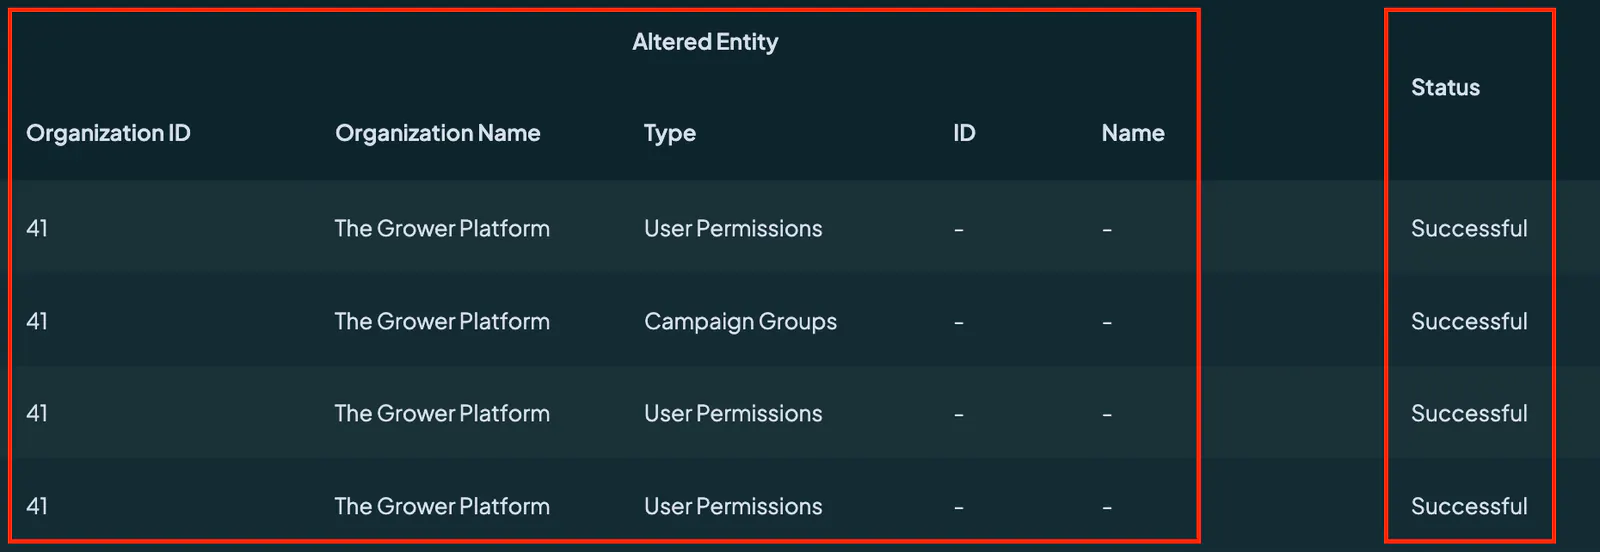
The Status section shows the outcome of the action. If the action was completed successfully, the status is marked as “Successful”. If the action encountered an issue, it will be marked as “Failed.”
Filtering & Navigating Logs
The User Logs page includes filtering and navigation tools to help you find and analyze specific logs efficiently. You can use the Date Range Filter to display logs from a specific time frame. By default, the current day’s logs are shown. The Search by Email feature allows you to narrow the results by entering a user’s email address, showing only logs related to that user.
You can also refine the logs further by selecting specific actions using the Filter by Action dropdown. For example, you can focus on “Delete” actions to monitor data removals.
If you are reviewing a large number of logs, the Pagination feature allows you to adjust the number of rows displayed per page (10, 25, or 50) and navigate between pages quickly.
Practical Scenarios
You can use these logs in many ways to keep things clear and accountable. For auditing purposes, the logs let you keep an eye on activities like permission changes, campaign group updates, or data deletions to make sure everything is running smoothly and as expected. If you’re looking to track the actions of a specific user, you can search by email to find their activities more easily.