
Marketing Assets
On this page
This guide explains managing creative assets in Grower, including uploading, organizing, and tagging files like images, videos, and documents. It covers navigating the Assets page, using List and Grid views, and applying filters to streamline retrieval. The guide ensures assets are easily accessible for efficient campaign management.
The Assets page serves as your central hub for managing all visual assets used across campaigns within a selected Campaign Group. It provides a streamlined workspace where you can organize, edit, and categorize images, videos, and other creative elements. Whether you're updating campaign visuals, reviewing videos, or ensuring smooth asset management, this page ensures that everything you need is easily accessible. Think of it as your command center for creative content, designed to simplify your workflow and keep your assets organized.
The following guidelines apply to asset uploads:
- Maximum Upload Size: Each asset can be up to 50MB, and the total size for assets within a Campaign Group cannot exceed 1GB.
-
Supported File Extensions:
- Image Formats: JPEG, PNG, SVG, GIF, JPG
- Document Formats: PDF, CSV, XLSX, XLS, PPTX, PPT, DOC, DOCX
- Audio Formats: MP3, M4A, WAV
- Video Formats: MP4, M4V, MPG, WMV, MOV, AVI, SWF
How To Add An Asset
To add an asset, navigate to the Assets tab under your Campaign Group. If no assets exist, both an "Upload New Asset" button and an "Upload New Assets" button will be displayed. If assets already exist, only the "Upload New Asset" button will remain visible.
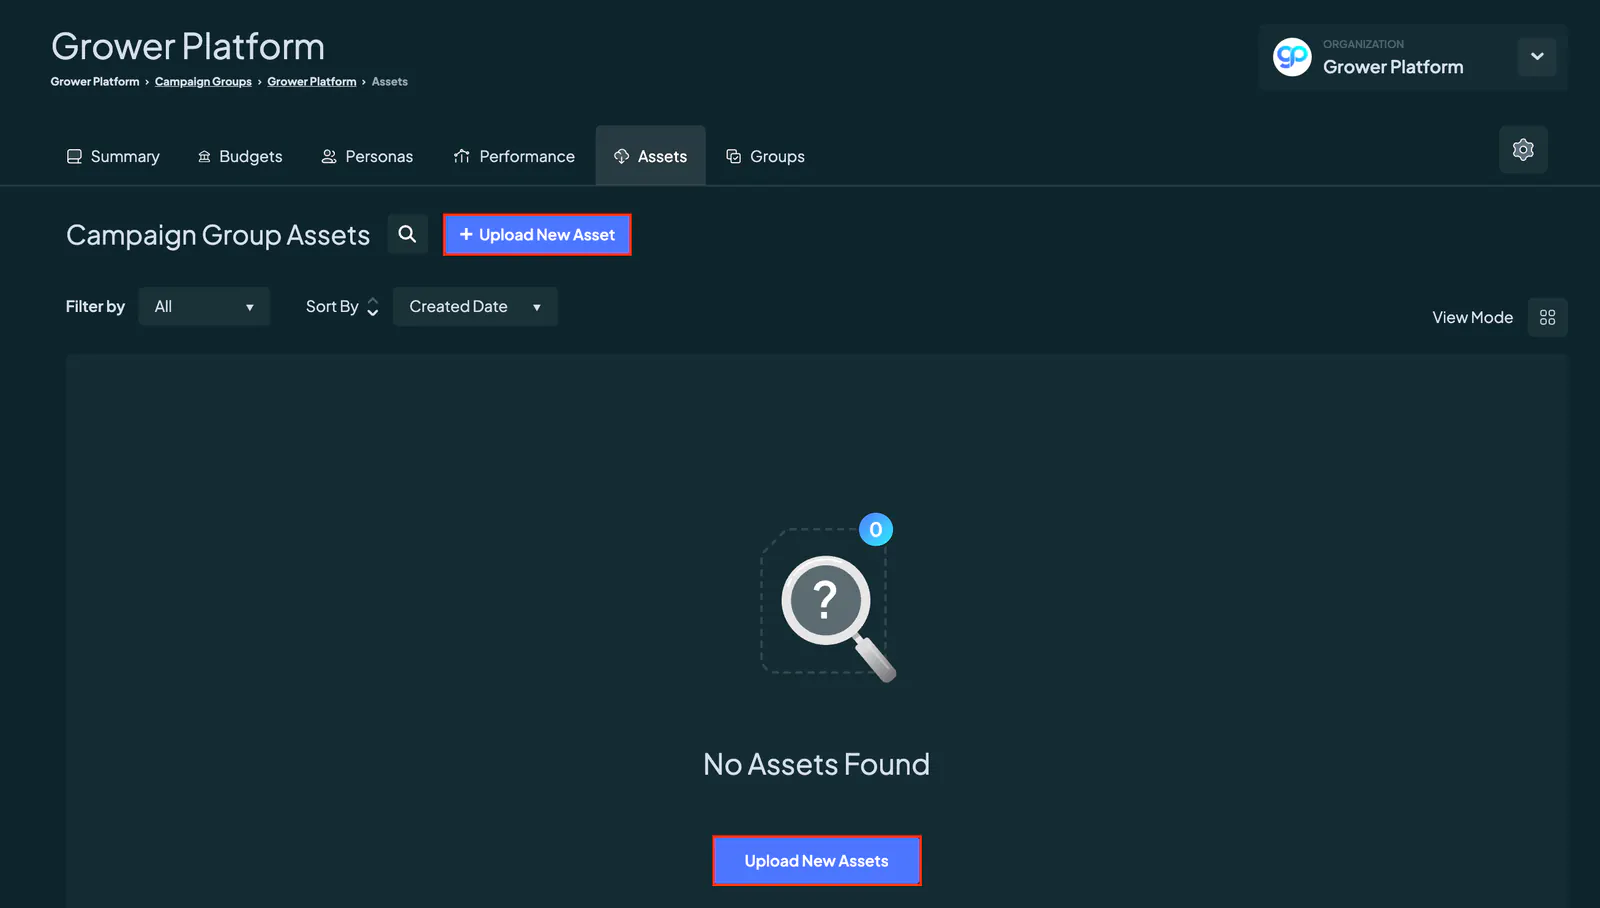
When either button is clicked, an upload menu will appear on the right-hand side of the page.
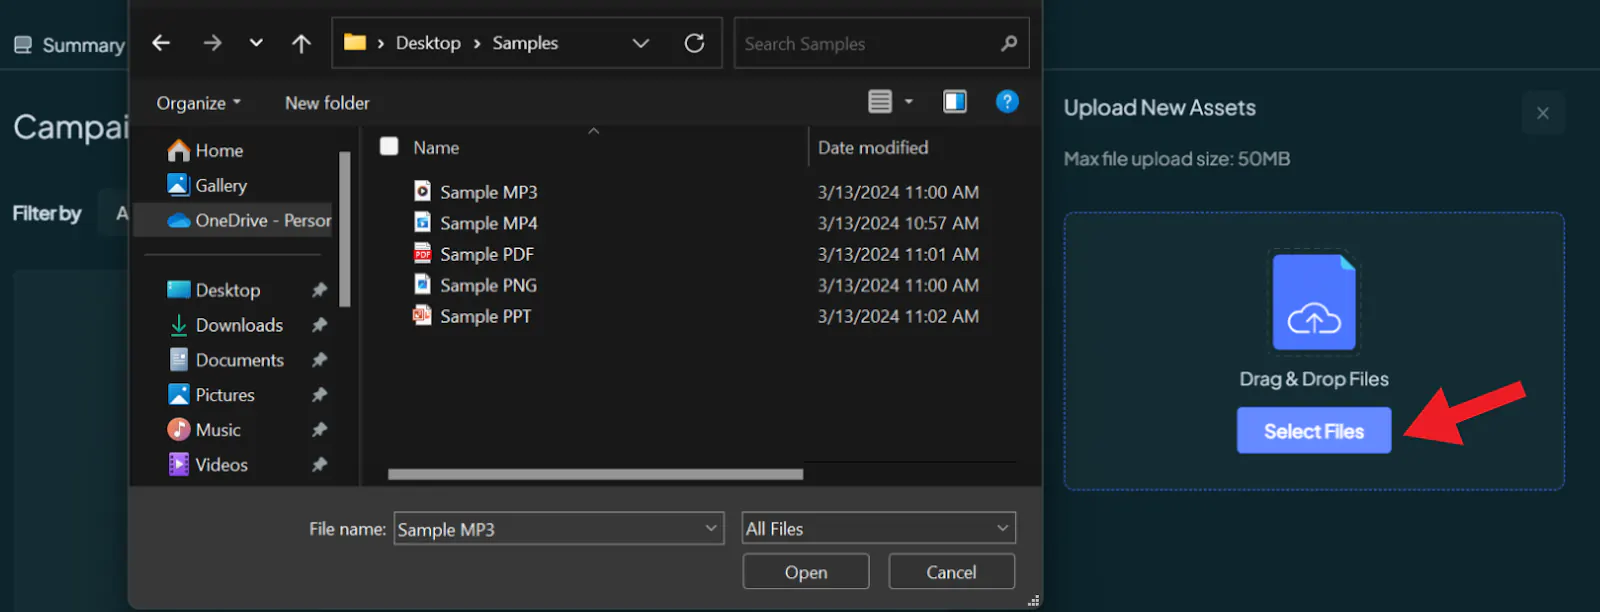
You can either upload files directly from your computer. The platform automatically detects the file type of any newly uploaded visual assets based on the file extension (.PNG, .PDF, etc.).
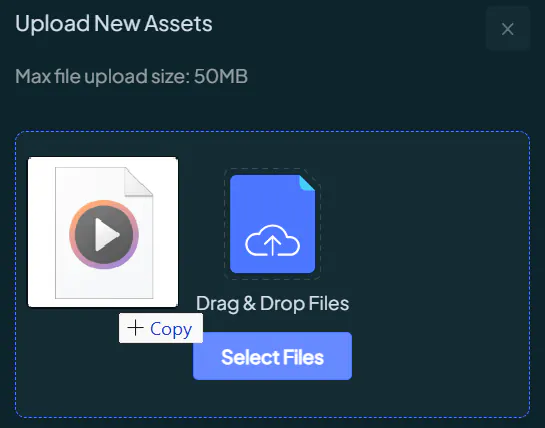
Or you can conveniently drag and drop them onto the form.
Once your upload is complete, you'll have the opportunity to provide additional details for the asset, including a title, tags, and description. By default, the file name is used as the title, but you have the option to modify it to better suit your needs.
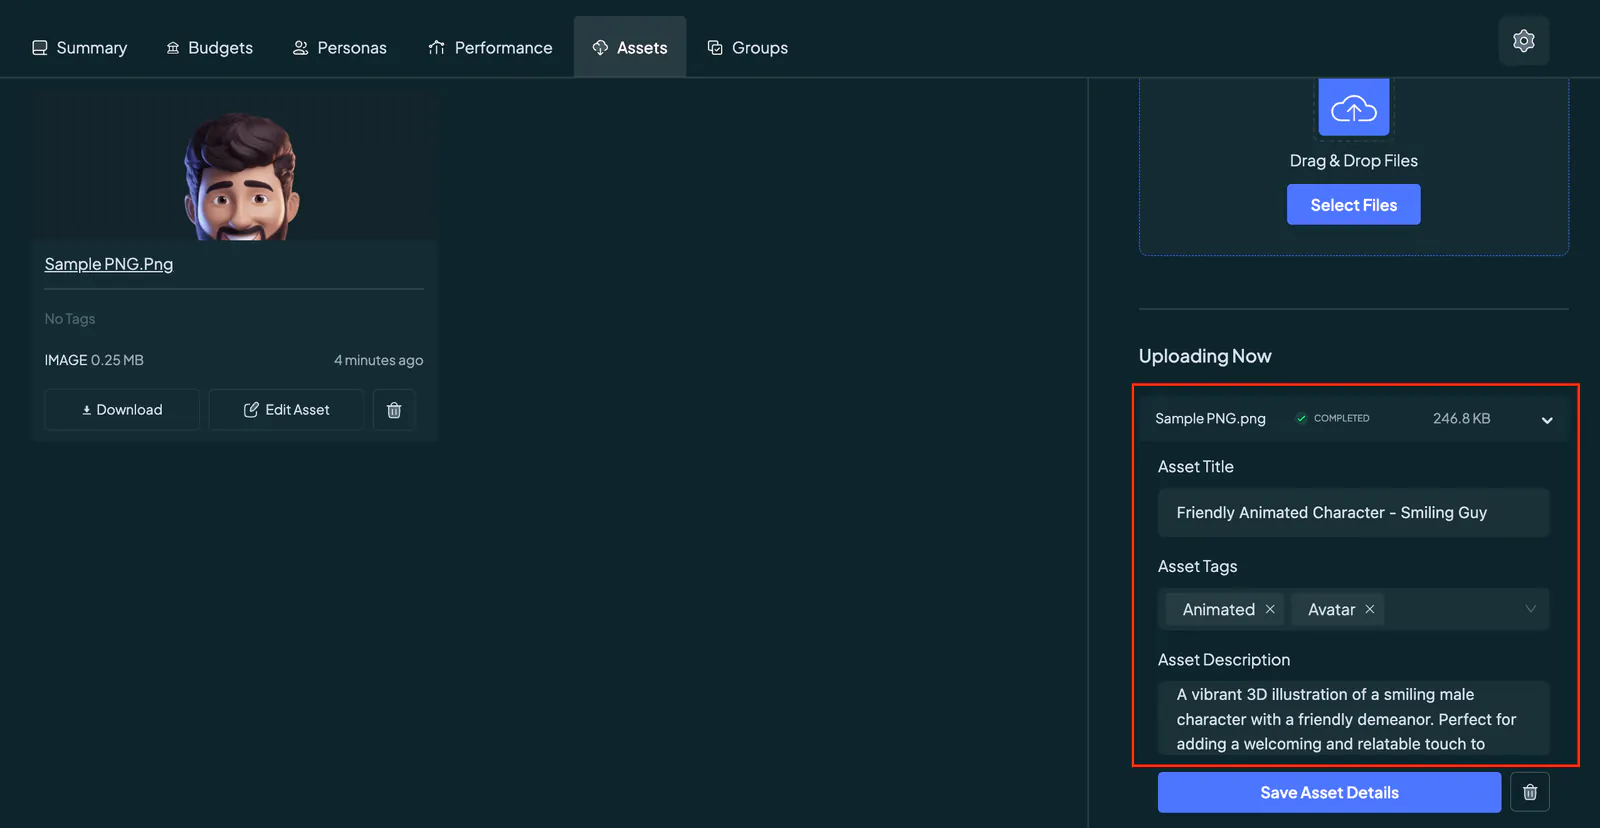
Click “Save Asset Details” to complete your details.
Previewing An Asset
To preview an asset, click on its name to open the View Assets popup. This window displays key details such as the asset name, file size, format, tags, description, creation and update dates, and uploader’s name.
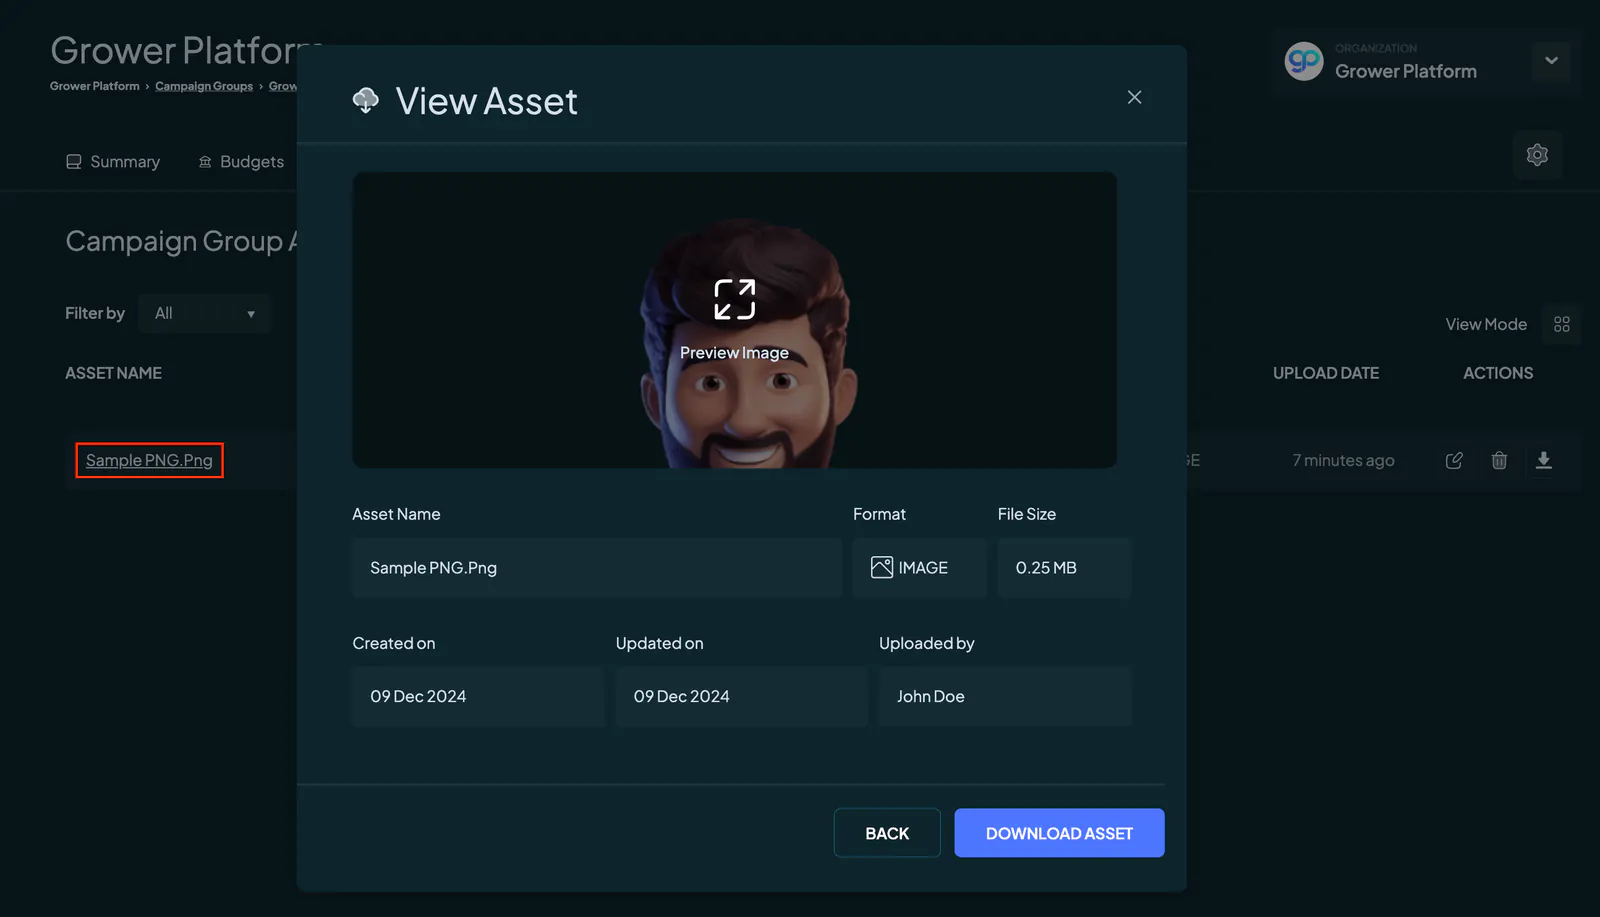
Hover over the asset preview, and an option to expand the asset will appear. This lets you view, play, listen to, or scroll through its contents based on the file type.
Editing An Asset
To edit an asset, go to the Assets tab under your Campaign Group. Locate the asset you wish to edit, and click on the Edit icon in the Actions column.

This will open the Edit Asset popup, where you can make changes to the Asset Name, Description, and Tags. Once you’ve finished editing, save your changes to update the asset details.
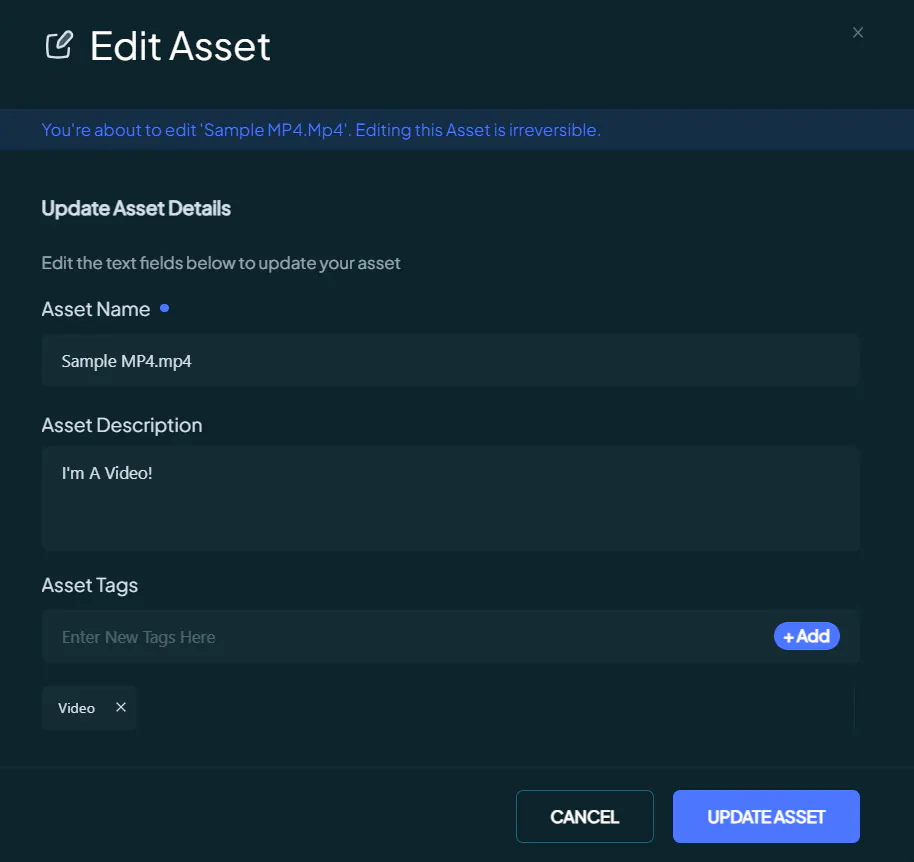
Deleting An Asset
To delete an asset, go to the Assets tab under your Campaign Group. Locate the asset you want to delete, and click on the Trash Can icon in the Actions column.

This will open the Delete Asset popup, prompting you to confirm your action by typing "CONFIRM" into the designated field. Once confirmed, the asset will be permanently deleted from thd Campaign Group. If the confirmation text is not entered correctly, the deletion process will not proceed, ensuring no accidental deletions occur.
Downloading An Asset
You can download an asset in two ways. You can either click the download icon in the Actions column.
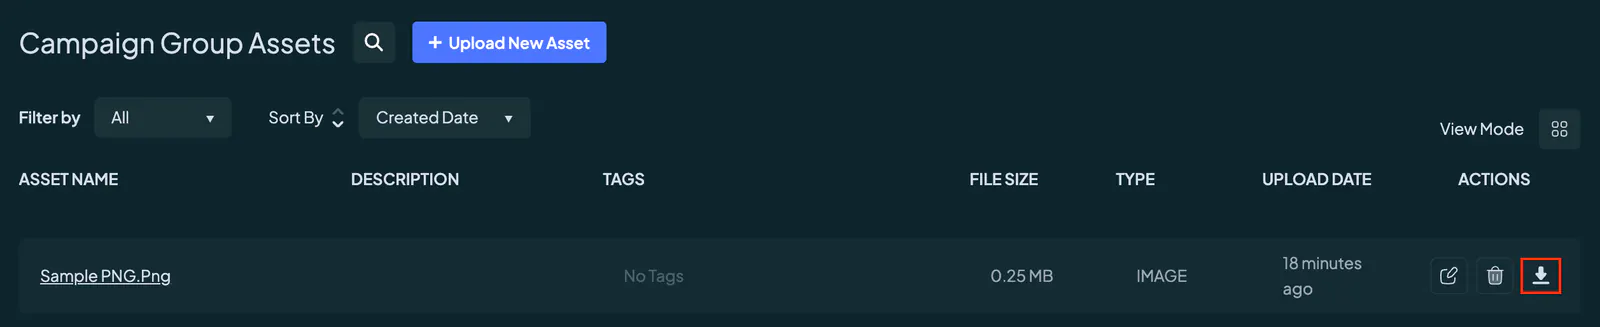
Or you can preview the asset by clicking on its name. As previously mentioned, this will open a popup called View Assets, where you can see various details and download the asset.
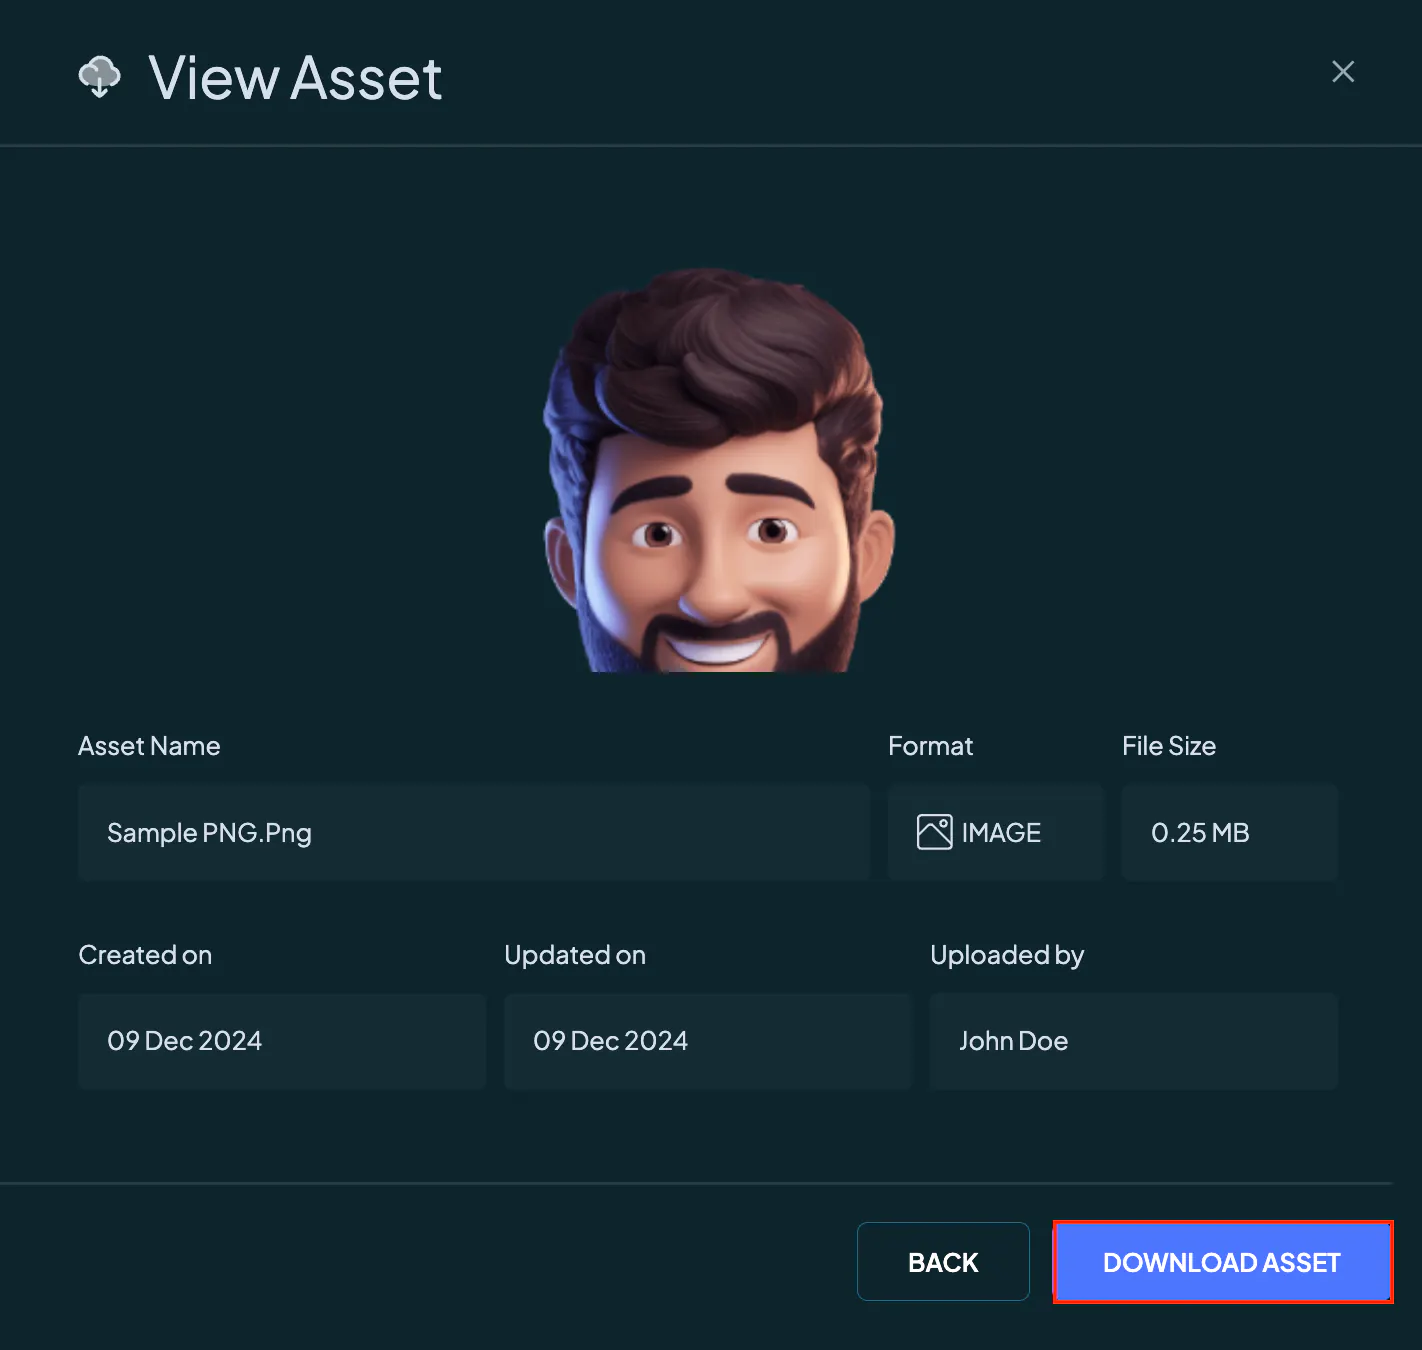
Upon doing either method, your asset will be automatically downloaded to your computer.
Changing Asset View Types
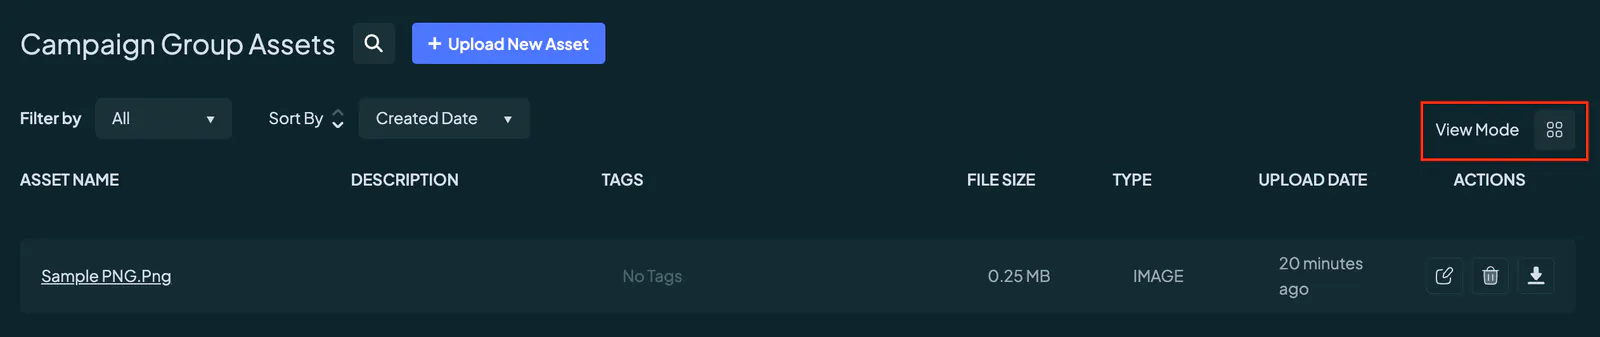
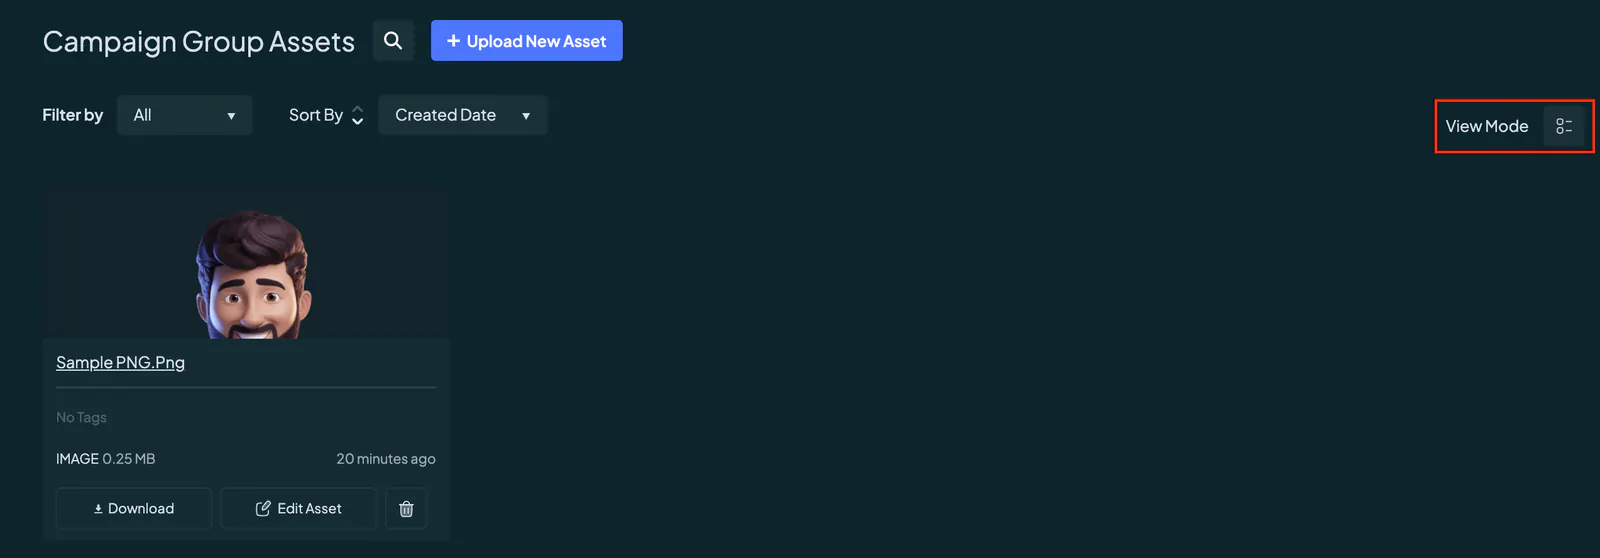
You can toggle between List View and Grid View at any time to change how assets are displayed. This flexibility helps you manage and locate your assets more efficiently.
List View:
Grid View:
Filtering & Sorting Assets
The platform includes powerful filtering and sorting tools to simplify asset management. You can sort assets by upload date, file type, or associated groups.
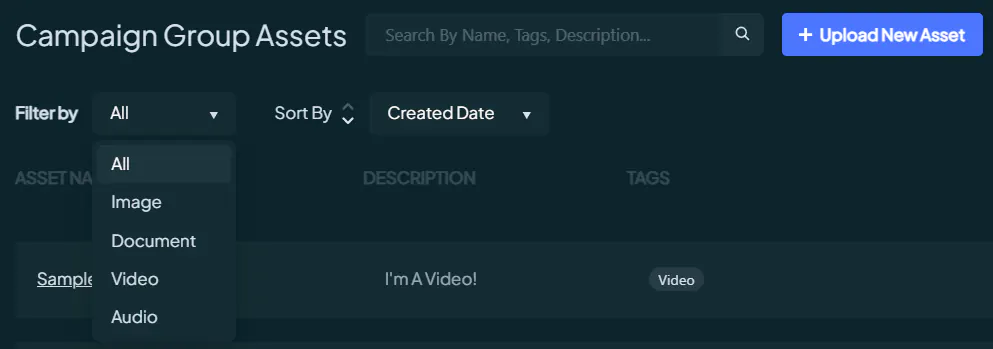
Filtering assets is simple too. You can filter by image, document, video, or audio file types.
And if you need to find something specific, just use the search bar to locate assets by their tags.

It's all about streamlining asset retrieval for you!